
 DODAJ DO RUTYNYSTEP 1 CLEAN – nail cleaner
Starter Set
INITIATION KIT – gel manicure starter kit with lamp
249,00 zł
 Starter Set
INITIATION KIT – gel manicure starter kit with lampRZECZYWISTY ASSET PRODUKTU
01 / 01
SEE IT. PICK IT. ADD IT.
OPINIE
Starter Set
INITIATION KIT – gel manicure starter kit with lamp
0 OPINII · NAPISZ PIERWSZĄ Starter Set249,00 zł
Produkt, dostępność i najważniejsze elementy zakupu w jednym miejscu.
Available — ships within 24 h
DODAJ DO RUTYNYSTEP 1 CLEAN – nail cleaner DODAJ DO RUTYNYSTEP 3 PRIME – acid-free nail primer
SEE IN ACTION
KLIKNIJ — MATERIAŁ OTWORZY SIĘ W DUŻEJ GALERII
TEN PRODUKT W AKCJIWIDEO I ZDJĘCIA BĘDĄ DODAWANE OSOBNO DLA TEGO PRODUKTU
OPIS I EFEKT +
Your first gel manicure? Start with a kit that keeps everything close at hand. INITIATION KIT is a complete BAD NAILZ gel manicure starter kit with a lamp. It includes base, top coat, burgundy polish, and the products and tools needed to prepare your nails, create your manicure and remove it later.
Want to start doing gel manicures at home but not sure what you actually need to buy?
INITIATION KIT takes care of it for you.
This BAD NAILZ starter kit contains the products you need for the whole manicure, from preparing the natural nail plate through base, colour and top coat to removing the manicure later.
No collecting a dozen products separately. No wondering what is still missing. Open the box and you can get started.
WHAT IS IN THE GEL MANICURE STARTER KIT?
- BAD NAILZ box
- LED/UV lamp
- BAD NAILZ base
- BAD NAILZ top coat
- BAD NAILZ burgundy gel polish
- lint-free wipes – 5 pcs
- nail file
- nail buffer
- cleaner
- acetone
- gel polish removal foil wraps – 5 pcs
- manicure sticks – 5 pcs
- letter B
WHO IS INITIATION KIT FOR?
- anyone who wants to do their first gel manicure
- anyone starting to do their own nails at home
- those who do not want to buy every product separately
- anyone who wants products for both application and removal from the start
- those looking for a complete gel manicure kit with a lamp
HOW TO DO A GEL MANICURE STEP BY STEP
- Shape your nails. Use the file from the kit to gently shape the free edge of each nail. Do not file the natural nail surface heavily.
- Gently remove the shine. Very gently pass the buffer over the entire natural nail surface. The nail plate should lose its natural shine. Do not press hard.
- Remove the dust. Thoroughly clean away the dust created by filing and buffing.
- Degrease with cleaner. Take a lint-free wipe from the kit, moisten it with a small amount of cleaner and thoroughly wipe the entire surface of each nail, from the cuticle area to the free edge. Wait until the cleaner evaporates and the nail is completely dry. From this point, do not touch the nail plate with your fingers.
- Apply base. Apply a thin layer of BAD NAILZ base over the whole nail, from the cuticle area to the free edge. Do not apply base to the skin. If product touches the cuticles, remove it before putting your hand in the lamp.
- Cure the base. Cure for 30 seconds in a UV/LED lamp of at least 48 W. Do not cleanse the base after taking your hand out.
- Apply burgundy polish. Apply a thin layer of BAD NAILZ burgundy gel polish. Spread it evenly without flooding the cuticles.
- Cure the colour. Cure for 30 seconds in a UV/LED lamp of at least 48 W.
- Apply a second layer. If you need fuller coverage, apply a second thin layer of polish and cure again for 30 seconds in a UV/LED lamp of at least 48 W.
- Apply top coat. Cover the whole nail with a thin layer of BAD NAILZ top coat and seal the free edge.
- Cure the top coat. Cure for 30 seconds in a UV/LED lamp of at least 48 W.
Done: your gel manicure is complete.
HOW TO REMOVE A GEL MANICURE
- File off the top coat. Gently file away the glossy top layer. Do not file the natural nail plate.
- Soak a pad with acetone. The pad should be thoroughly soaked, but it does not need to drip.
- Place the pad on the nail. Place the soaked pad directly against the nail surface.
- Wrap the nail in foil. Wrap the finger with removal foil so the pad remains firmly against the nail.
- Wait approximately 10–15 minutes.
- Remove the foil. Remove the foil together with the pad. The product should be softened.
- Remove the residue. Gently remove softened product with a manicure stick. Do not forcibly peel or scrape off the gel polish. If it still adheres firmly, reapply a pad with acetone and leave it for a few more minutes.
WHY INITIATION KIT?
- complete gel manicure kit
- lamp and essential products in one box
- suitable for getting started
- detailed step-by-step instructions
- products for both application and removal
- no need to buy everything separately
HANDPICKED FOR YOUR MANI
DOBIERZ DO STYLIZACJI.
8 PRODUKTÓW · KAŻDY DODAJESZ OSOBNO
Shine Me Top No Wipe – glossy gel top coat
24,99 zł
STEP 1 CLEAN – nail cleaner
24,99 zł
STEP 2 DRY – nail dehydrator
24,99 zł
STEP 3 PRIME – acid-free nail primer
24,99 zł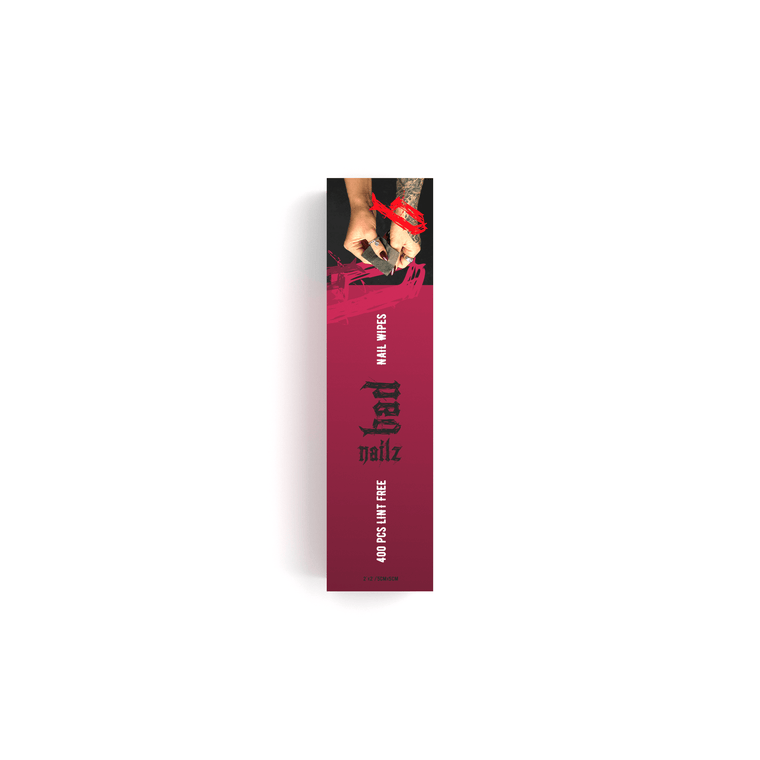
BAD NAILZ Nail Wipes – lint-free wipes, 400 pcs
21,99 zł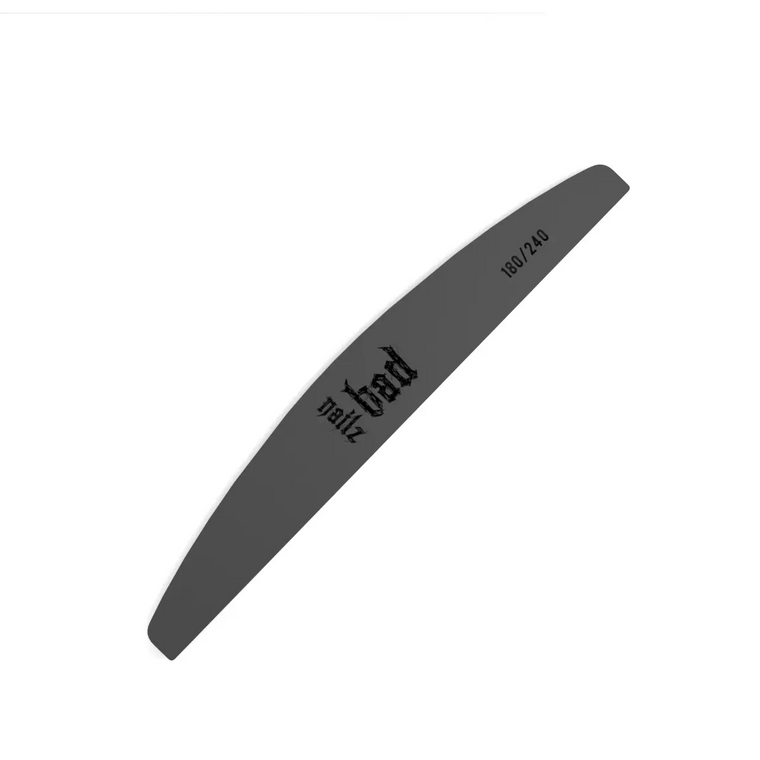
BAD NAILZ Half-Moon Nail File 180/240
4,99 złCUSTOMERS SAY / REAL MANIS
NOSZĄ. POKAZUJĄ. OCENIAJĄ.
REAL PROOFOPINIE I ZDJĘCIA PO ZAKUPIE